How can I manage my Windows Fusion site using Core FTP?
How to install and use coreFTP to manage your Windows Fusion website.
Along with IIS 7 Manager and WebMatrix, Windows Fusion also offers FTP capabilities. Below you will find information on how to connect and manage content with Core FTP.
If you do not already have a copy of Core FTP, it can be downloaded here http://www.coreftp.com/download.html
Once installed, open it up. You should see something like this:
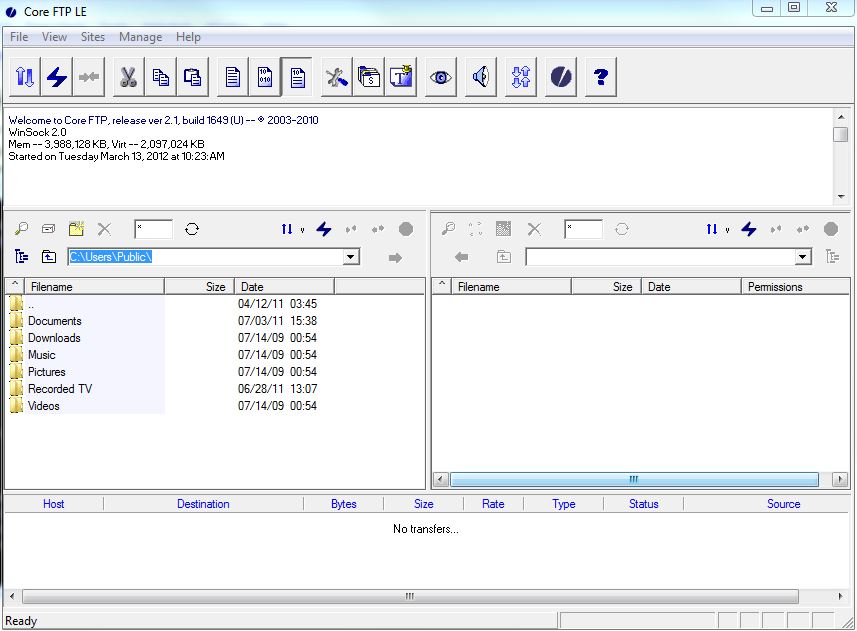
The folders on the left are the folders on your local machine.
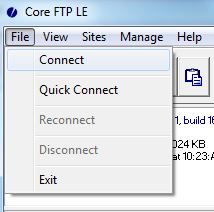
Now, click on File followed by Connect.
This will open up the Site Manager window. Click on New Site.
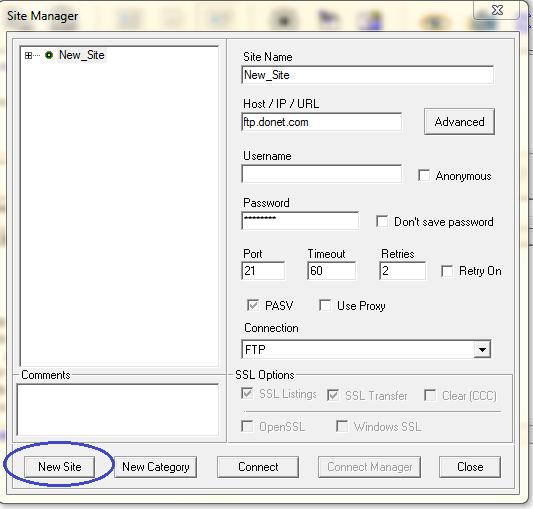
A new, unnamed site should have been added to the list on the left side. You should now name your site and fill in your FTP connection information. Try to avoid naming it “my website” or anything like that to avoid confusion (especially if you manage multiple sites). For this example, my site’s name is ‘windowsfusion.donet.com’ so that’s what I named my site within Core FTP. Here’s what the completed FTP connection looks like:
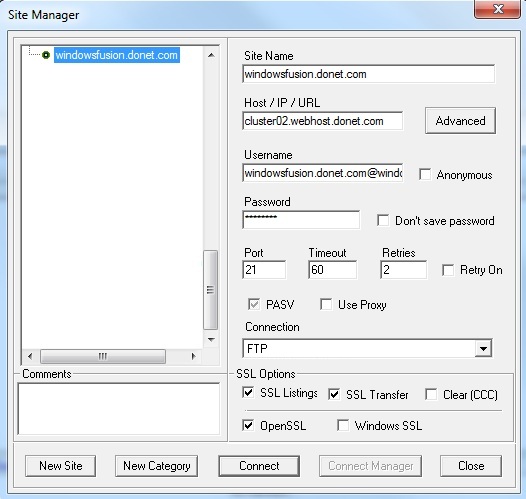
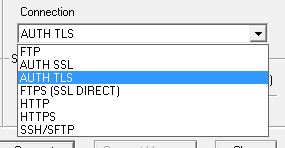
Another great thing about Windows Fusion is that, if you want to use an encrypted connection, you can! To enable this feature in Core FTP, select “Auth TLS” from the Connection drop-down menu.
After clicking Connect, you will be connected to the web server, and the directories belonging to your user name will appear on the right side of Core FTP (your local desktop will be on the left).
The /php directory is where the PHP configuration (php.ini file) is stored, the /www directory is where you will upload your site content, and the rest of the directories can be ignored unless otherwise instructed.
For additional documentation, FAQs, tutorials, etc., please visit the Core FTP website.
If you have any questions or concerns please contact DataYard support.