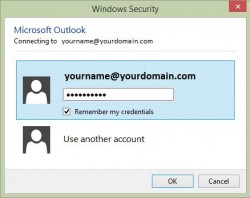
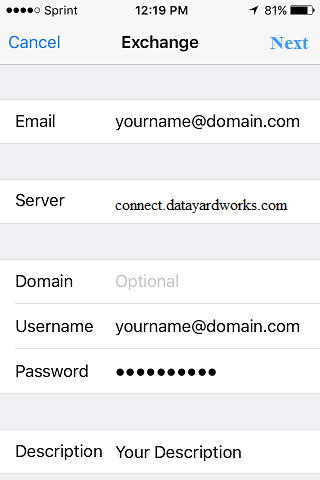
Configuring your smartphone to receive your DataYard email uses the same settings as you would use to configure any other mail client. The setup varies slightly by device release date, but will always need the same set of information to work correctly.
iPhone Configuration
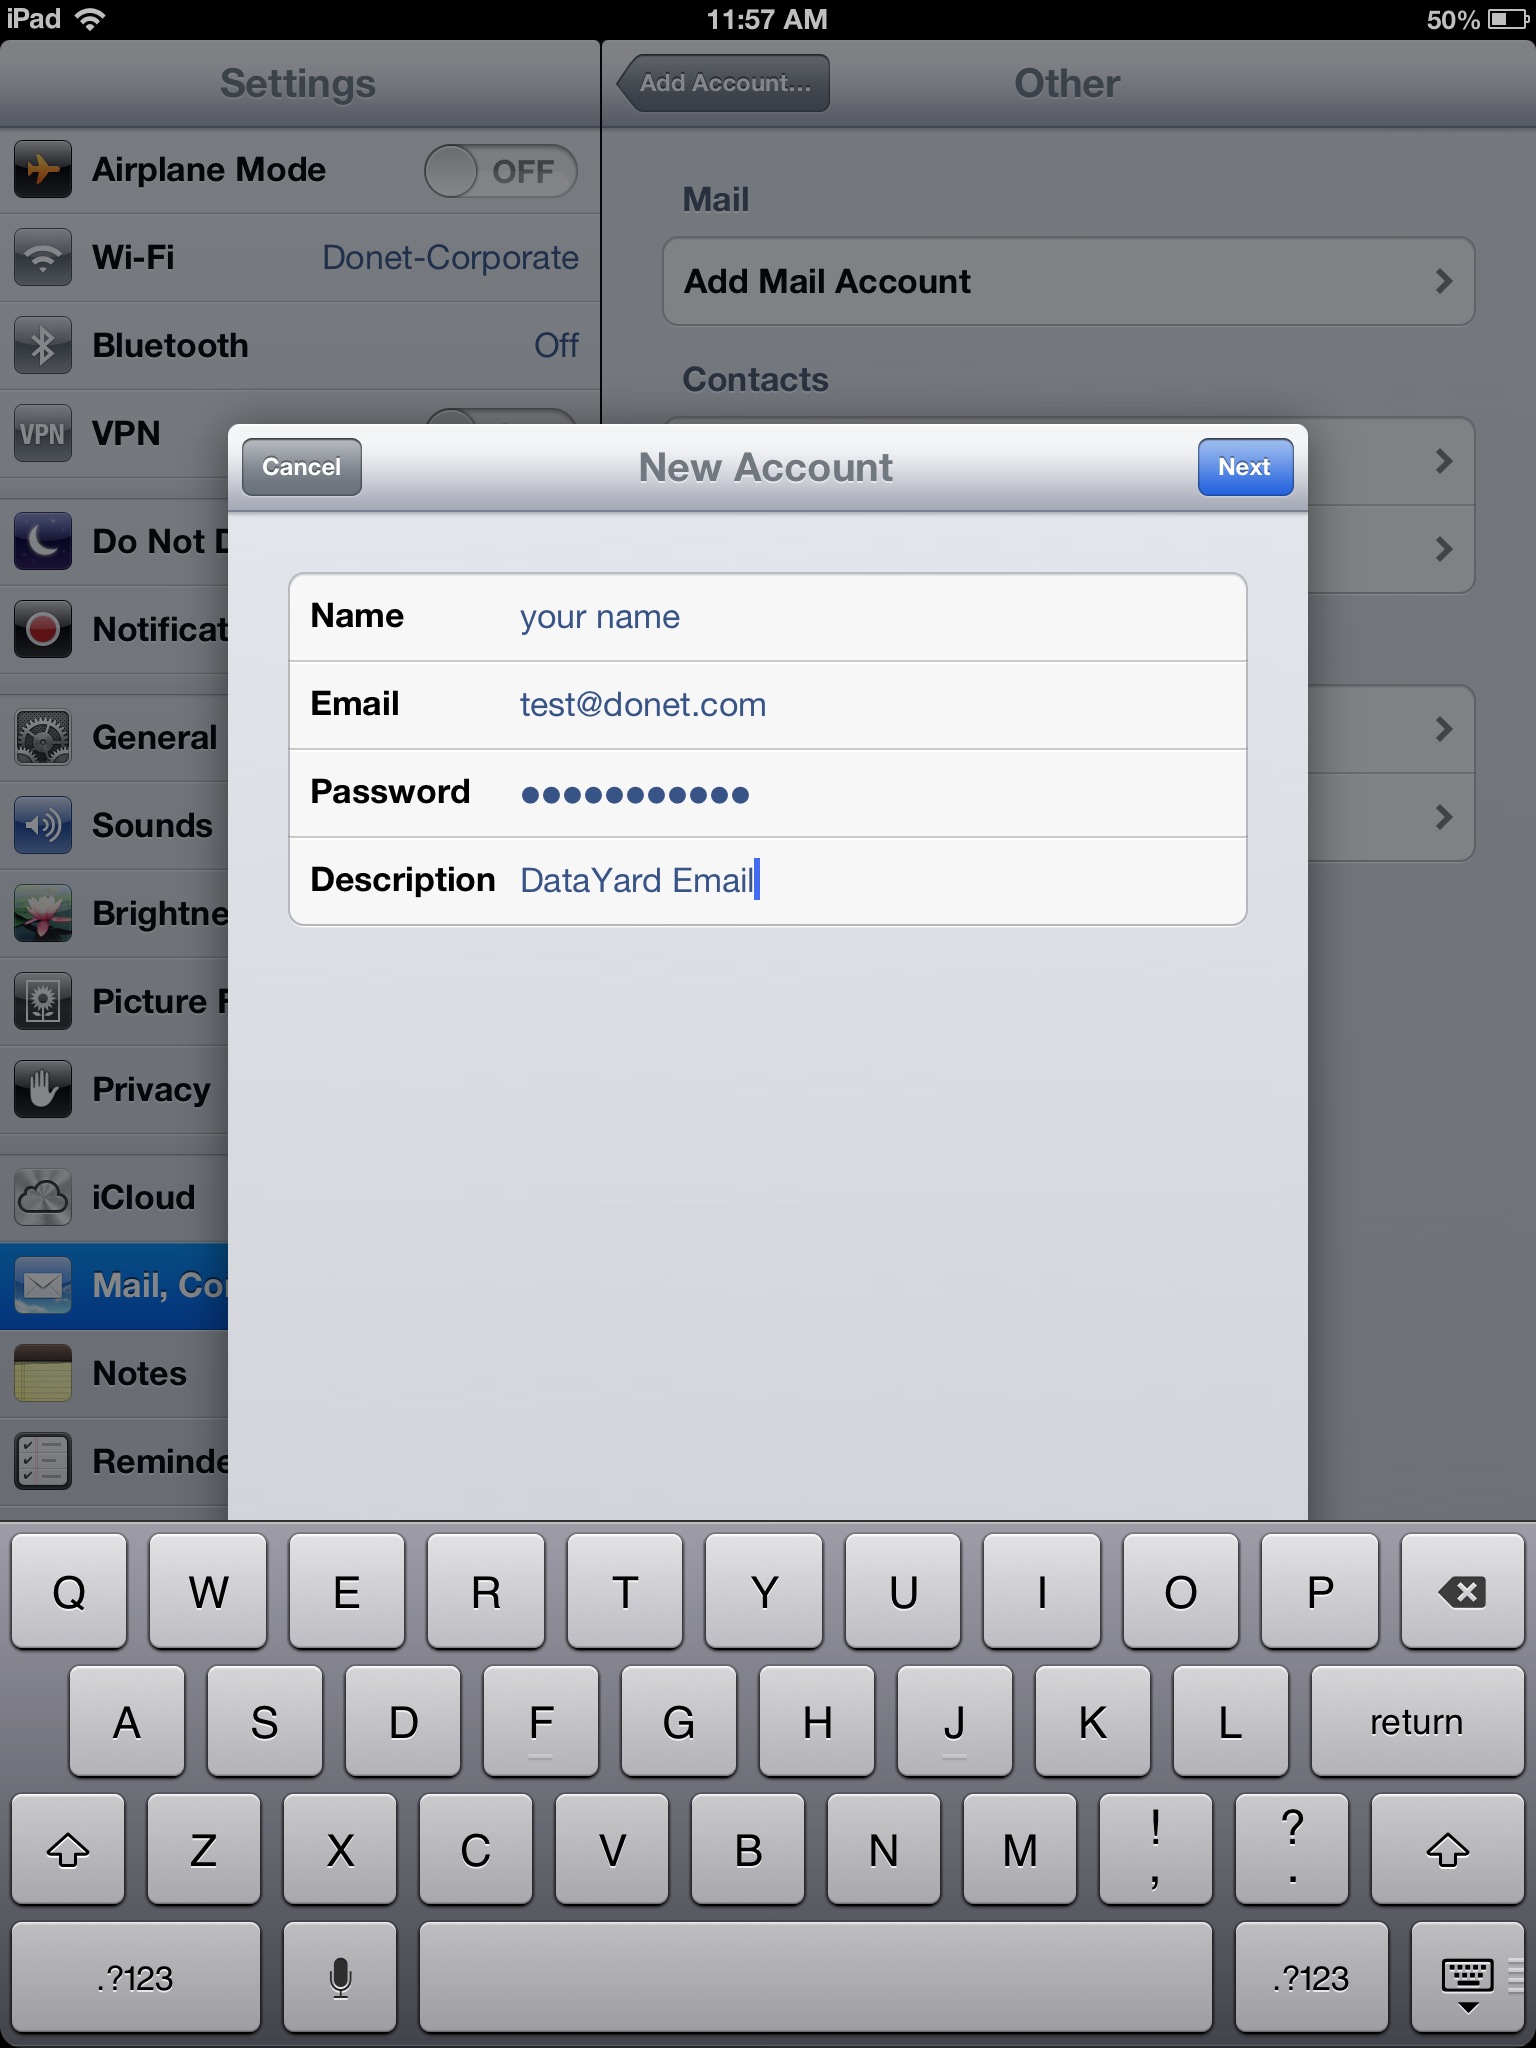
From your home screen choose settings
From the settings screen select mail, contacts and calendars
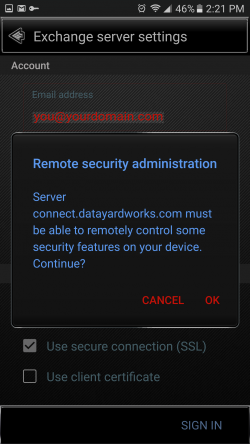
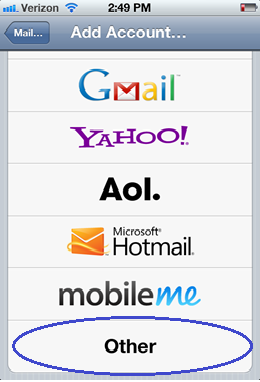
Then Add Mail Account
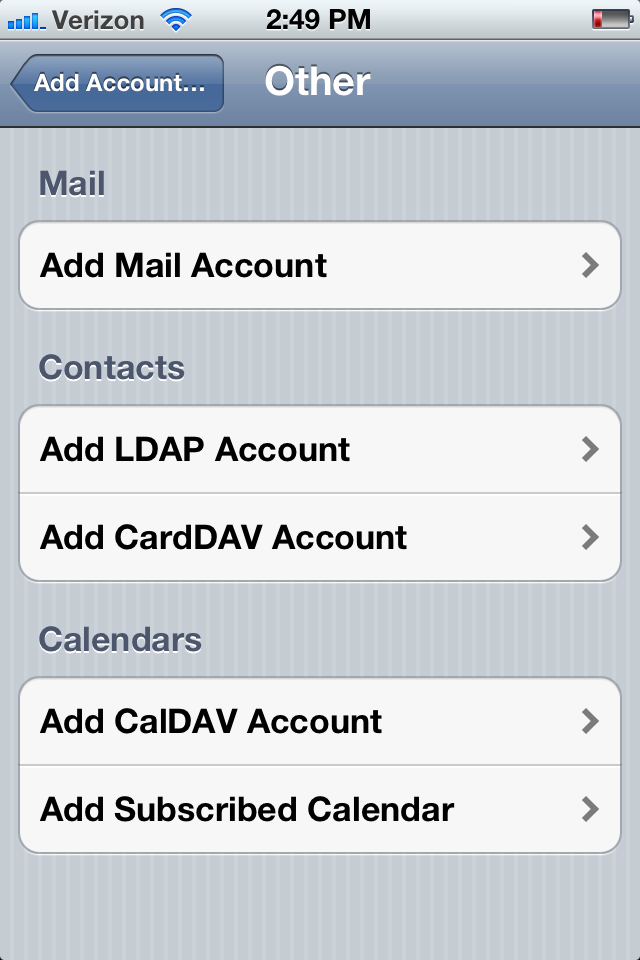
The account type will be “Other”
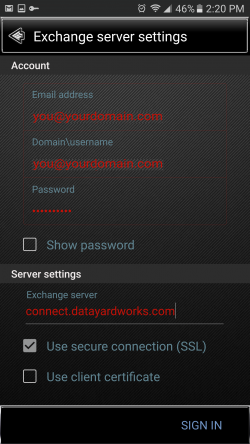
The settings needed for a POP account:
Incoming mail server: pop3.donet.com
Outgoing mail server: smtp.donet.com
Outgoing server authentication: enabled/password or use same settings as incoming mail server
Outgoing server port number: 587 (default is 25)
Incoming server port number: 110
Use SSL: off/unchecked
Email address: this is the full email address that you wish people to see
User: the username provided to you by Donet
Pass: only you have this information, Donet does not keep passwords for security reasons.
Mail Settings for using IMAP accounts:
Incoming mail server: IMAP.donet.com (or pop3.donet.com) they both point to the same server.
Outgoing mail server: smtp.donet.com
Outgoing server authentication: enabled/password or use same settings as incoming mail server
Outgoing server port number: 587 (default is 25)
Incoming server port number: 143
Use SSL: off/unchecked
Email address: this is the full email address that you wish people to see
User: the username provided to you by DataYard
Pass: only you have this information, DataYard does not keep passwords for security reasons.