How can I use Microsoft Expressions Web with your Fusion Website?
If you do not have a copy of Microsoft Expressions Web, it can be purchased through Microsoft.
Expressions Web is a web development program by Microsoft. This software is very different from other basic FTP programs, but it also has FTP capabilities. This comes in handy because you can edit your site in Expressions and then upload your changes to the server. There’s quite a bit to this program, so for the sake of brevity I will only be providing instructions on how to publish via FTP or FTPS. If you’re looking for Expressions Web help in general, please see the Microsoft website.
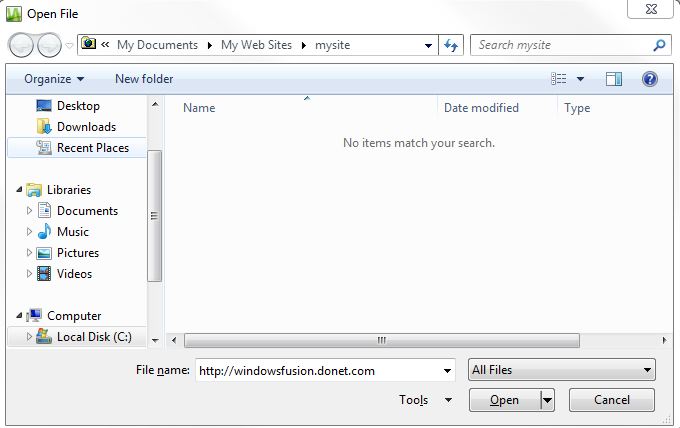
First, you’ll have to be in a position to edit your site. In Expressions you have to open the site from the File menu. Click File, select Open, type your website address (including http://) and click Open.
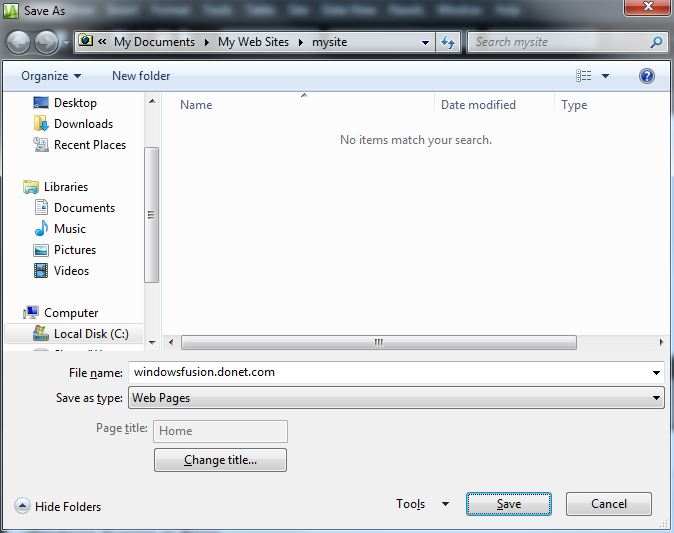
This opens the site in Expressions, at which point you can make whatever changes you wanted to make, and then you will save the website in Expression’s site directory. After making your changes, click File followed by Save. Name the site whatever you’d like and then click “Save.”
Now that the changes are saved to your local computer, you just need to publish the changes to your website. To do this, click on the Site menu on the top toolbar, and then click Publishing.
The first time you publish, you will be presented with the option to add a publishing destination. Click the link that looks like the one below in Expressions to do this.
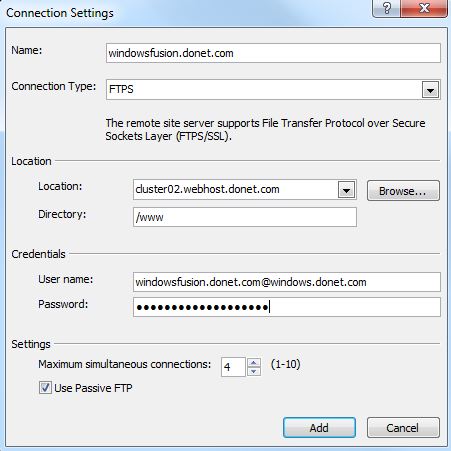
This will open up the connection settings, which is where you will enter your FTP information. Here’s what my connection looks like for my Windows Fusion site windowsfusion.donet.com:
Once you’ve finish adding the publishing destination, all you have left to do is publish.
FTP Information
- Host: The Windows Fusion FTP host is currently cluster02.webhost.donet.com, though this is subject to change, or vary from customer to customer. Please refer to your Windows Fusion Welcome letter to make sure, and if you cannot find it just contact us for help. If for some reason you cannot connect to that host name, it’s possible you’re having local DNS issues, so try using the IP address instead: 72.9.40.53
- User name: Your Windows Fusion FTP user name will be in this format: [site name]@windows.donet.com. For example, if my site name is ‘windowsfusion.com,’ then my user name will be [email protected]
- Password: DONet does not store customer passwords in plain text, so we are unable to retrieve any lost or forgotten passwords. If you can’t remember your password, please refer to your Windows Fusion welcome letter. If you still can’t find it, please call us at 937-226-6896 so that we can verify your identity and work with you to get your password changed.
- Port: 21
- Connection Type: FTP or FTPS (also known as “FTP over SSL”)


How can I check my E-mail without a Mail Client?
How can I check my E-mail without a Mail Client?
DataYard offers webmail, which can be used by any DataYard customers to check your DataYard e-mail from the internet.
To check your mail anywhere an internet connection is available:
- Open your web browser
- Type in the address bar ‘webmail.donet.com’

- Then you will enter your DataYard Username:
If you have your own domain this may not be the same as your e-mail address, if you are unable to log in, please contact DataYard support to verify your username
- Enter your Password: Your DataYard provided password
How can I configure Outlook 2010 to work with Connect Mail?
How can I configure Outlook 2010 to work with Connect Mail?
First, you will need to decide if you wish to set this account up as a POP account or an IMAP account, if you are unsure you can see the differences here and use the settings for your chosen account type.
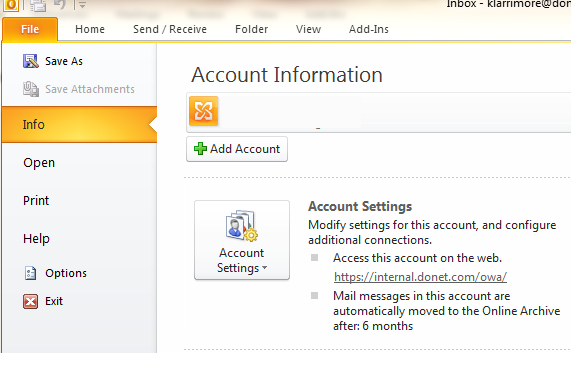
Select the File tab
Then choose Info
Select Account Settings
And then select New
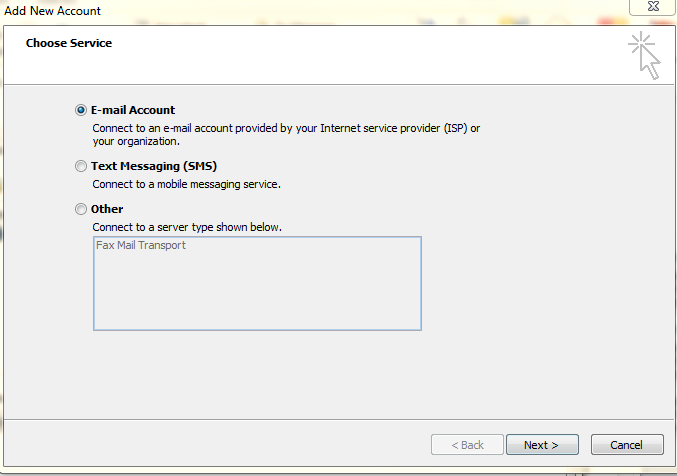
Choose E-mail account and then Next.
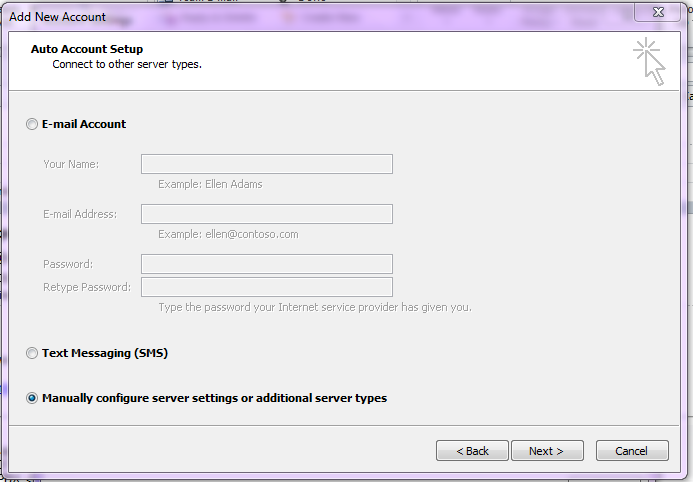
This will bring you to the Auto Account Setup page where you will choose the option to Manually Configure Server Settings or Additional Server Types.
Select Next and choose the option for Internet E-mail.
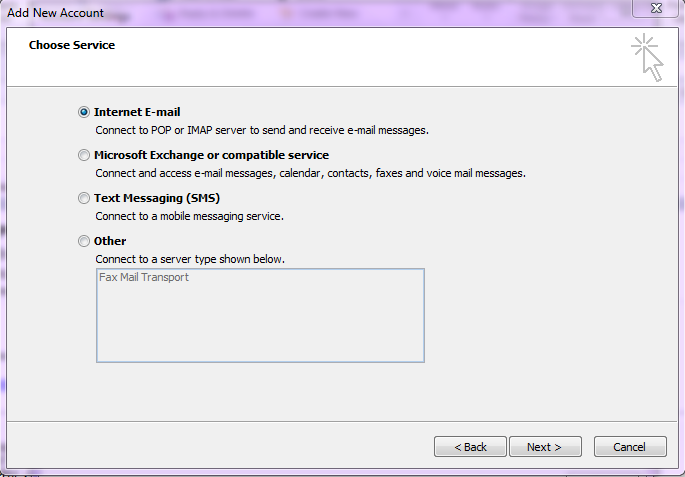
Then select Next again.
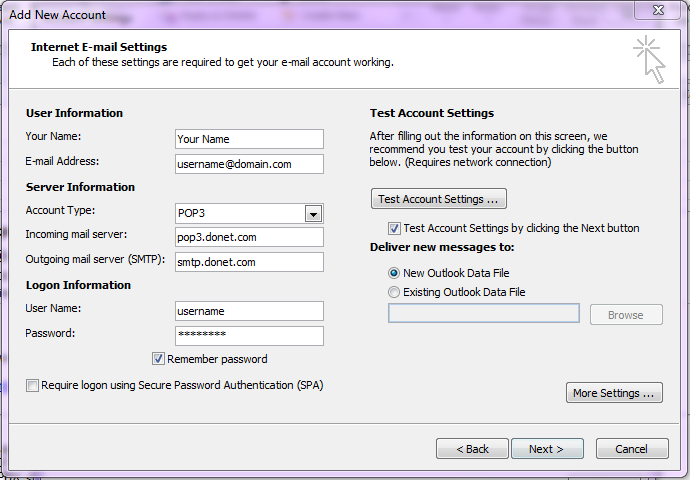
You will then need to enter the following information:
- Your Name: Your name as you wish it to appear
- E-mail Address: This is your full email address
- Account Type: POP3 or IMAP depending on your preference
- Incoming mail server: pop3.donet.com for POP accounts or imap.donet.com for IMAP accounts
- Outgoing mail server: smtp.donet.com
- User Name: the username provided to you with your account information
- Password: the password provided to you
- Require logon using Secure Password Authentication (SPA): Should be unchecked
You will then need to select the More Settings button in the lower right hand corner of the screen
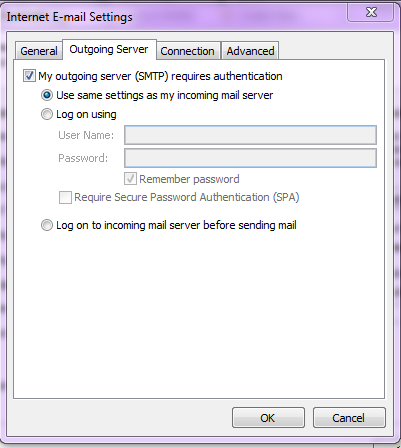
Outgoing Server tab: My Outgoing Server Requires Authentication must be checked, using the option Use same settings as my incoming mail server
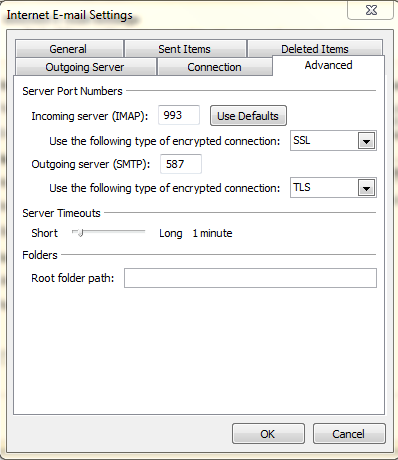
You will then go to the Advanced tab and enter your server port information
POP3:
- Server Type: POP
- Server Address: donet.com
- Port: 995
- Use the following type of encrypted connection: SSL
- Authenticate using: Clear Text
- Logon User Name: Your username
- Outgoing Server Information
- Server Address: smtp.donet.com
- Port: 587
- Use the following type of encrypted connection: TLS
OR
IMAP:
- Server Type: IMAP
- Server Address: donet.com
- Port: 993
- Use the following type of encrypted connection: SSL
- Authenticate using: Clear Text
- Logon User Name: Your username
- Outgoing Server Information
- Server Address: smtp.donet.com
- Port: 587
- Use the following type of encrypted connection: TLS
Once this is complete you can hit OK, which will return you to the main screen. Hit Next to test the account settings. If the test completes successfully, you can hit next to exit the setup wizard.
If you have any questions please contact DataYard Support.
How do I backup my Outlook 2010 client?
How do I backup my Outlook 2010 client?
Keeping backups is one of the most important things you can do to ensure you don’t lose emails that are saved in your mail program and important contact information.
Outlook stores all of your emails in a file called a PST File; making regular backups of this file is highly recommended.
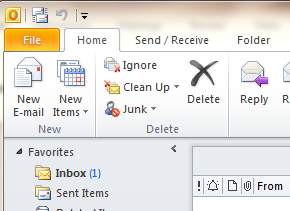
From the main screen choose File and then Account Settings
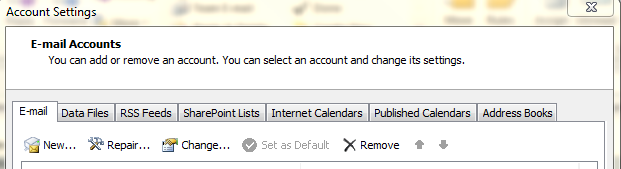
In the Account Settings screen, select the Data Files tab at the top of your screen. Then choose the account you are backing up (if there is more than one).
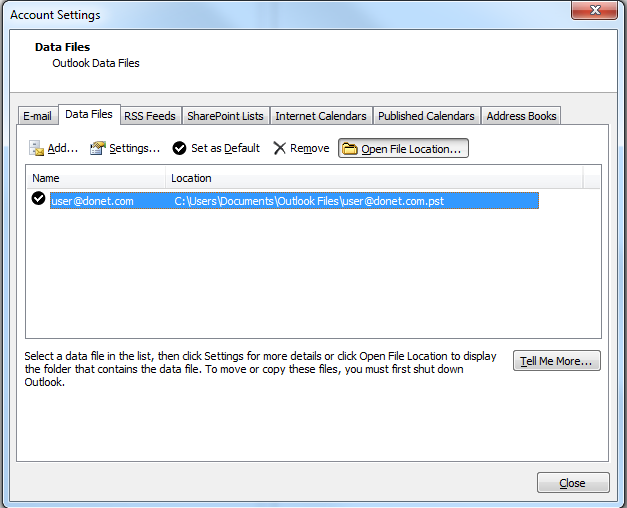
This will open up the directory that contains your data file. You should see something that looks like this:
Now, WITHOUT closing this window you want to switch back to your open outlook program and close it by going to File>Exit.
Once Outlook is closed, right-click on the data file and hit copy.
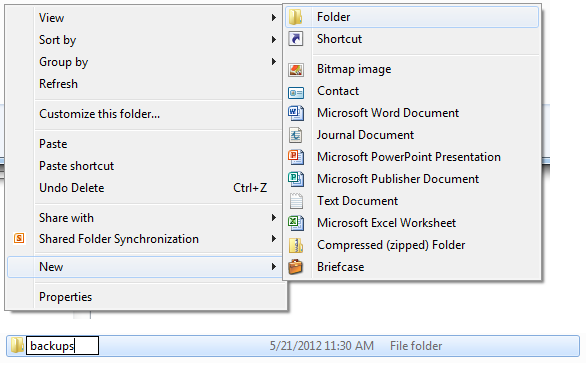
In this same window, you will right-click and choose new>folder. You can name this folder anything you wish, backups is easily identifiable.
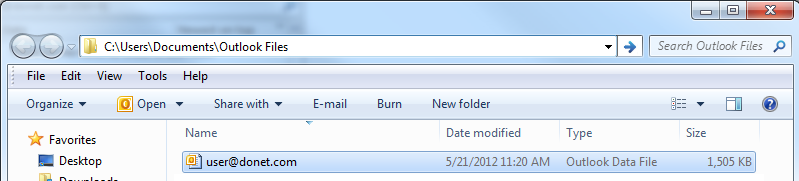
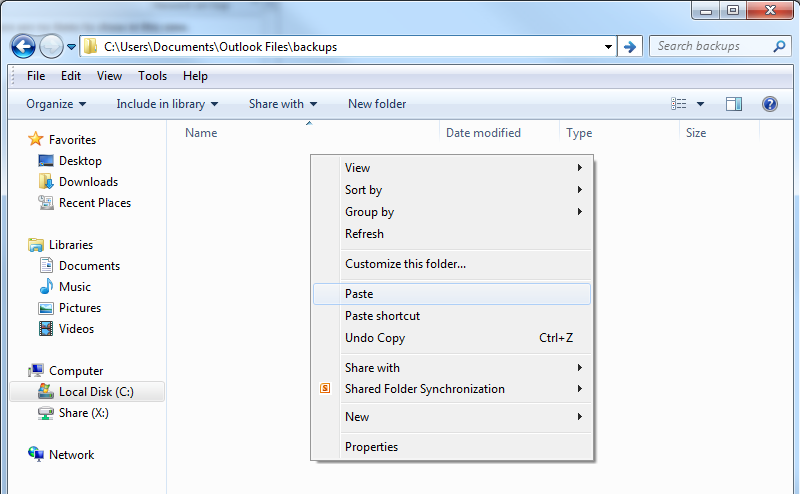
Once you have created this folder you will double click the folder icon to enter the folder and paste your file by right-clicking and then choosing paste.
Once you have pasted the file, it will show in the folder, like this:
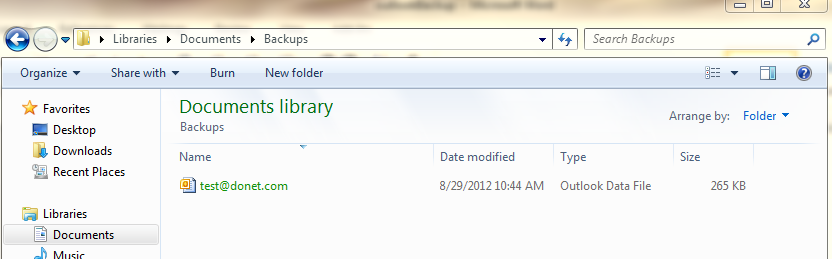
You now have successfully made a copy of your email data! If for some reason you were to lose your email, you will be able to restore from this data file.
If you have any questions please contact DataYard support.
How can I password protect my Linux Fusion Website?
How can I password protect my Linux Fusion Website?
One of the most common configuration changes users desire is the ability to easily password protect a website directory or file from public access. This is easily done with the help of an .htaccess file.
The first step is to generate an .htaccess file. Create the file using a text editor and following the pattern below (replace the word ‘donet’ with your username):
You can also change the AuthName to a message of your choice. Just replace ‘Secure’ with your preferred text leaving the quotes.
This file will be placed in the directory you wish to secure.
The second step is to generate an .htpasswd file. If you have your own server or VM through Donet, you can do this on the command line. If you have a shared hosting solution, you will need to generate the .htpasswd file using a tool such as this one: www.htaccesstools.com/htpasswd-generator/. Copy your encrypted string into a new text file, save it as .htpasswd, and upload via FTP to your root user directory*.
*NOTE*
Your root user directory is the directory that you see when first logging in via FTP. Typically, this is not the directory that your website files are in (i.e. ‘www’), but is the directory that contains the ‘www’ directory.
After creating your .htaccess and .htpasswd files, test to ensure it is working:
.htaccess (distributed configuration) files can be used for all sorts of things including password protecting directories, enabling directory browsing, etc. For a more advanced look into the possibilities of .htaccess, check out the Apache Tutorial page
How do I upload and include my own PHP libraries in my Windows Fusion website?
How do I upload and include my own PHP libraries in my Windows Fusion website?
PHP settings can be viewed by going to ‘www.yourdomain.tld/phpinfo.php’.
You can customize certain PHP directives in your PHP configuration file. To access this file, log in to your site via your preferred FTP client.
You will see several folders on the right, one of them being PHP.

If you open up that folder, you will see a file called php.ini.
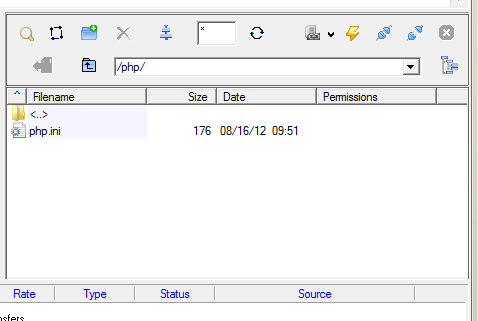
This folder will already have several directives configured. You can place your additional PHP directives in this file. Since the web server is continuously monitoring changes to this configuration file, you should notice these changes take place immediately.
Technical Overview current as of August 29, 2012
Current Version: 5.3.10
We are currently running PHP 5.3.10 (latest stable version as of 03/01/2012). As new versions are released, we will test and implement the new PHP versions in addition to supporting this PHP version. If your application requires a specific version of PHP, please contact us and we can attempt to work with you to accommodate your specific requirements.
Runtime Protocol: FastCGI
For performance and security reasons we have implemented PHP in our Windows Fusion environment utilizing the FastCGI protocol for interfacing PHP to the web servers.
Runtime Session Save Handler: PHP WinCache
“Windows Cache Extension for PHP is a PHP accelerator that is used to increase the speed of PHP applications running on Windows and Windows Server. Once the Windows Cache Extension for PHP is enabled and loaded by the PHP engine, PHP applications can take advantage of the functionality without any code modifications.” – IIS.NET
We have taken several steps to improve the performance of PHP sites hosted on our Windows Fusion product. If you have any additional technical questions, please contact us for more information.
How can I use phpMyAdmin with my Linux Fusion website?
How can I use phpMyAdmin with my Linux Fusion website?
If you’re running a content management system (CMS) like WordPress or Joomla on your DataYard Fusion website, one of the things you may need is direct access to the MySQL database powering the CMS. You could use the mysql command line client, but there are web tools that can make it much easier. One such tool is phpMyAdmin.
What you will need to install phpMyAdmin on your website
- Your own domain name
- A Linux Fusion web site from DataYard (including your FTP and MySQL login information)
Please note that this tutorial will not work with Windows Fusion websites - A web browser
- An FTP client
Here is a quick (<5 minutes) video tutorial on how to install phpMyAdmin inside your Fusion website:
Note: You will need to download phpMyAdmin 4.0.10.20 (https://www.phpmyadmin.net/downloads/). Newer versions will not work.
If you have any trouble during installation please, contact DataYard support.
Common Errors: Outlook 2007 asks for your Network Password
Common Errors: Outlook 2007 asks for your Network Password
How to resolve the pop up in Outlook 2007 ‘Enter Network Password’
This prompt appears anytime the password you have stored in your mail client does not match the password that we have in our system. This can happen if you’ve recently updated your password, changed your username, or if Outlook has lost the saved information. This password is the same password that you use to check your email account.
Associated error message:
“Enter Network Password”
To resolve this issue, follow these steps for Outlook 2007:
- From the main screen select Tools.
- Select Account Settings.
- From the Email tab, select your DataYard account and then Change.

- You will want to remove the password that’s listed (it will be in asterisks) and try re-typing your password to ensure there are no mistakes.
If you are unable to resolve this issue or are unsure of your password you can call DataYard support staff to verify or reset your password.
How do I modify the Hosts file on my PC?
How do I modify the Hosts file on my PC?
How to modify your computer’s Hosts file.
Much like DNS, your computer’s Hosts file associates IP addresses to host names. You may not always have control over DNS, but you can always have control over your Hosts file. The Hosts file can be used to resolve domain names without the use of DNS.
Why you would want to make changes to the Hosts file:
- to preview websites in development
- to do network testing
- to increase browsing speeds (by bypassing the DNS query process)
Most hosting platforms don’t offer a “site preview” tool for website development. So, for further explanation of the Hosts file, I’m going to use the development scenario as an example of how to use it.
For example, you have your website loaded on a development server, but want a way to preview the site to ensure all the changes are working properly before changing the DNS and taking the site live.
You would first open your hosts file to point the domain name to the development server’s IP address.
This is how it’s done on a Windows 7 operating system:
- Open the Start menu, go to Accessories, then find the program Notepad.
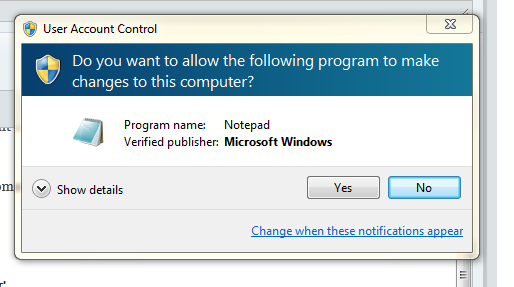
- Once you’ve located Notepad, right-click on the icon and choose ‘Run As Administrator’
- You will likely get the following message, you will want to select ‘Yes’
- From inside the Notepad program you will go to My Computer, then Local Disk ( C: ) Then Windows, Then System32, Then Drivers and finally the folder etc.
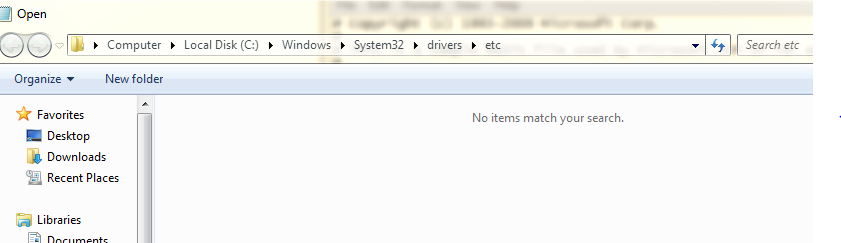
- You will notice it says ‘no items match your search.’ At the bottom of the screen type “Hosts” where it says File Name: and this will allow the file to open in notepad.

- Your screen should show the following information:
# Copyright (c) 1993-1999 Microsoft Corp.
#
# This is a sample HOSTS file used by Microsoft TCP/IP for Windows.
#
# This file contains the mappings of IP addresses to host names. Each
# entry should be kept on an individual line. The IP address should
# be placed in the first column followed by the corresponding host name.
# The IP address and the host name should be separated by at least one
# space.
#
# Additionally, comments (such as these) may be inserted on individual
# lines or following the machine name denoted by a ‘#’ symbol.
#
# For example:
#
# 102.54.94.97 rhino.acme.com # source server
# 38.25.63.10 x.acme.com # x client host
- You will then add the IP address of the development server to the bottom of the Hosts file, hit “Tab” on the keyboard, and then add the host name(s). This is what the final Hosts file would look like for this scenario:
# Copyright (c) 1993-1999 Microsoft Corp.
#
# This is a sample HOSTS file used by Microsoft TCP/IP for Windows.
#
# This file contains the mappings of IP addresses to host names. Each
# entry should be kept on an individual line. The IP address should
# be placed in the first column followed by the corresponding host name.
# The IP address and the host name should be separated by at least one
# space.
#
# Additionally, comments (such as these) may be inserted on individual
# lines or following the machine name denoted by a ‘#’ symbol.
#
# For example:
#
# 102.54.94.97 rhino.acme.com # source server
# 38.25.63.10 x.acme.com # x client host
64.56.96.23 donet.com
64.56.96.23 www.donet.com
- Now, just save the Hosts file and browse to the site. Your system will bypass DNS for that domain name and only pull content from the server you specify, basically showing you how that site would behave if the DNS records were pointing to it.
I should note that if you try this exact example, you will not see a difference in the Donet website as this is the current location of the site hosting.
If you have any questions please, contact DataYard Support.
How can I create sub-folders in Webmail?
How can I create sub-folders in Webmail?
How to create a new folder within your DataYard webmail.
You may wish to keep your saved messages organized by creating folders within the webmail interface if you are using this daily to check your mail or even as a place to keep and organize backups of your email messages.
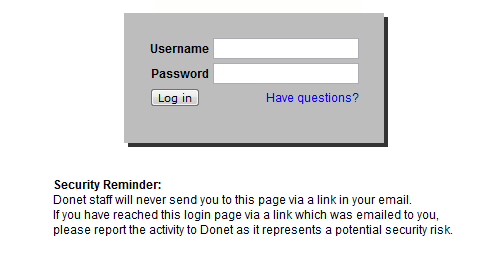
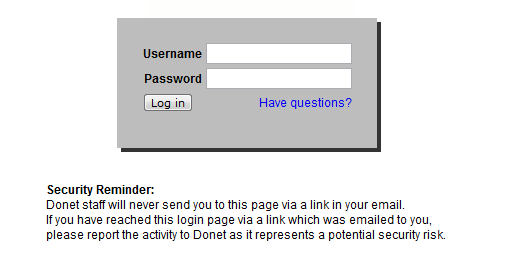
First, you will need to log into your webmail portal by browsing to webmail.donet.com and entering your username and password.
Please note your username is NOT the full email address. If you do not know your username or password please contact support
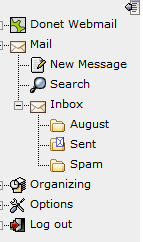
You will need to be in your mailbox to add folders; you can browse to your mail by selecting the Mail icon from the list on the left side of the screen.
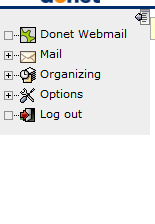
From within your mail folder you will see a new menu across the top of the screen, select Folders.

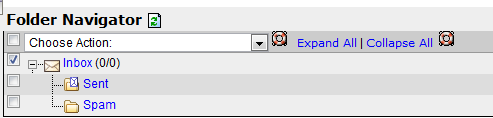
From the Folder Navigator you will first need to select your parent folder for this new folder
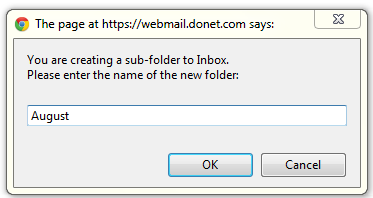
For example, I want to create a folder called ‘August’ under the folder ‘Inbox’ I would checkmark next to Inbox.
Next, choose Create New Folder from the Choose Action drop-down menu
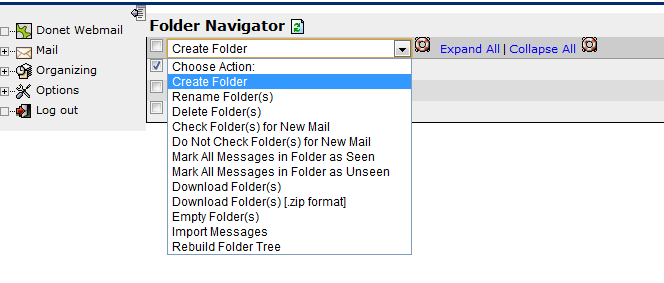
Then you will get a pop-up asking you to name your folder, you can name this folder anything you wish, then hit Ok.
You will see confirmation that the folder was successfully created at the top of your screen

After you refresh your inbox you can now see your new folder listed in the left-side menu.